Introduction to Vertical Gardens
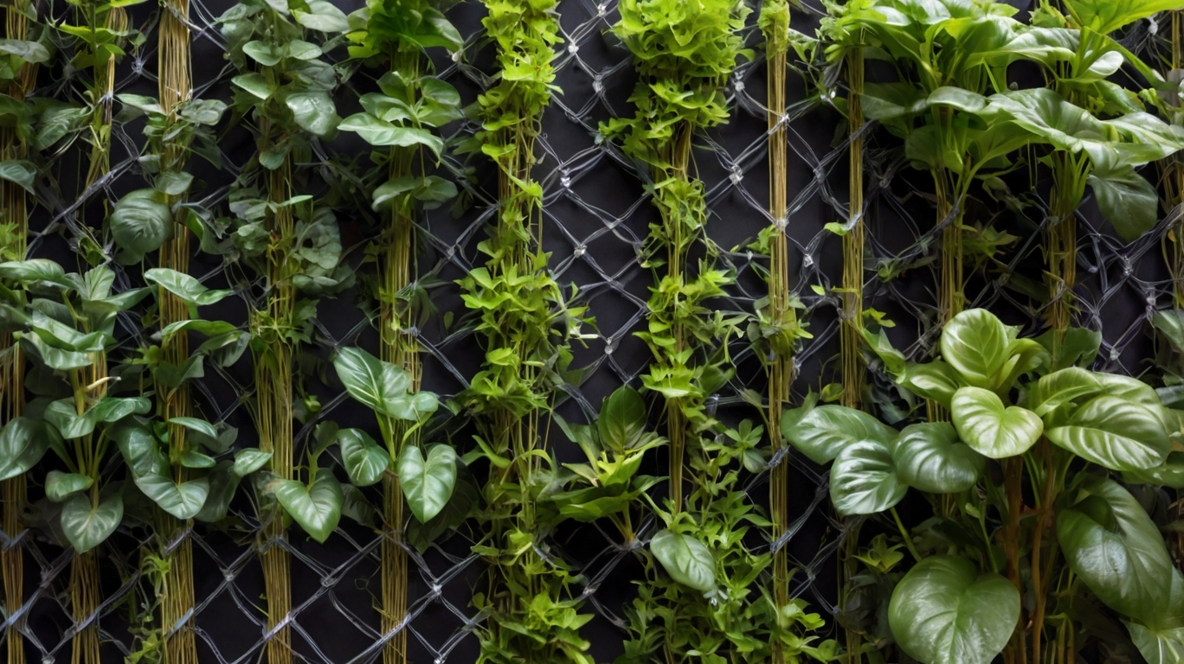
Welcome to the fascinating world of vertical gardening! This innovative method allows you to grow plants in a vertical space, making it perfect for those with limited ground area. By using structures like trellises, walls, or nets, you can create lush, green landscapes in even the smallest urban environments.
“Vertical gardens maximize limited space, improve air quality, and add aesthetic appeal.”
With their ability to transform plain walls into vibrant plant displays, vertical gardens are becoming increasingly popular in cities. They offer an efficient way to enhance urban living. Plus, the use of nets provides essential support for your plants, ensuring they thrive in their vertical home. Dive in and discover the benefits of creating your very own vertical garden!
Choosing the Right Netting
When creating a vertical garden, selecting the appropriate netting is key to ensuring your plants have the support they need. Let’s explore some popular options.
Chicken Wire Mesh
This option is versatile and flexible, making it perfect for uneven garden spaces. It’s durable and offers effective pest control against larger pests.
Welded Mesh
Known for its strength, welded mesh can withstand significant pressure. It’s available in various sizes, making it adaptable for different garden needs.
Considerations
- Durability: Choose netting that can withstand the elements and potential pest damage.
- Size: Ensure the netting size fits your garden’s dimensions and the plants’ growth.
- Weight: Consider the weight of the netting, especially if it needs to support heavier plants.
Personally, I once opted for green wire fencing mesh because it blended seamlessly with my garden. It offered the perfect balance of aesthetics and functionality. Don’t hesitate to request samples when in doubt, as this can help you make an informed decision.
Preparing Your Vertical Garden
Before setting up your vertical garden, it’s essential to prepare the space properly to ensure a successful installation. Follow these steps for a smooth setup:
- Clear the Area: Begin by removing any debris or weeds from the garden space. This creates a clean slate for your plants and netting.
- Plan Your Layout: Decide on the plant arrangement and where the netting will be placed to ensure optimal sunlight exposure.
- Measure and Cut: Measure the area where the netting will be installed and cut the netting material to size.
Here’s a quick reference table for the tools you’ll need:
| Tool | Purpose |
|---|---|
| Measuring Tape | To measure garden space and netting |
| Cutting Tools | To trim netting materials to the desired size |
| Netting Pegs | To secure the netting in place |
Safety Tips
Always wear gloves when handling netting to avoid scratches or cuts. Ensure that ladders or step stools are stable before use to prevent falls. By following these steps and tips, you’ll be ready to create a thriving vertical garden.
Installing the Netting
Once your garden is prepared, it’s time to install the netting. Follow this step-by-step guide for a secure setup:
- Attach the Pegs: Begin by securing the netting pegs into the soil at the base of your garden structure. This will anchor the netting firmly.
- Unroll the Netting: Carefully unroll your chosen netting material, ensuring it covers the entire area where support is needed.
- Secure the Top: Fix the netting at the top of your vertical garden using appropriate clips or ties, ensuring it is taut but not overly stretched.
- Check Tension: Ensure the netting is evenly distributed and tensioned, adjusting as necessary to avoid sagging.
“For a more secure installation, I find it helpful to double-check the tightness of the netting after a few days of installation to ensure it remains taut and effective.”
When installing netting, avoid common mistakes such as rushing the installation, which can lead to gaps, or ignoring the mesh size, which can affect plant growth. Regularly inspect for any tears or gaps to maintain the netting’s effectiveness.
With these steps and precautions, your vertical garden will not only be visually appealing but also well-supported for optimal plant growth.
Positioning Your Plants
Effective plant placement on netting is crucial for a thriving vertical garden. Here are some best practices to help you get started.
Consider Plant Height
Position taller plants like vines at the top of the netting. This prevents them from overshadowing shorter plants such as succulents or herbs, ensuring all receive adequate light.
Grouping by Light and Water Needs
Cluster plants with similar light and watering requirements together. For instance, ferns and bromeliads thrive in humid conditions and can be placed together to simplify maintenance.
Spacing and Growth Habits
Ensure adequate spacing between plants to allow for air circulation, preventing diseases. Choose climbing plants that naturally attach to the netting, like certain vine species, to provide natural support.
By following these strategies, you can create a successful vertical garden that maximizes growth and enhances the beauty of your space.
Maintaining Your Vertical Garden
Regular maintenance is key to keeping your vertical garden healthy and vibrant. Essential tasks include watering based on plant needs, using organic fertilizers for nutrient supply, and pruning to encourage growth and prevent overcrowding. Additionally, keeping an eye out for pests and ensuring sufficient sunlight are crucial for maintaining plant health.
“Consistent care is the secret to a flourishing vertical garden.”
Netting significantly influences maintenance routines by providing essential support for climbing plants. It enhances air circulation and light exposure, which reduces disease risk. Moreover, netting simplifies harvesting and helps create a favorable microclimate, promoting optimal growth conditions.
In my experience, maintaining a vertical garden can be as rewarding as it is demanding. I once struggled with pest control, but incorporating herbal pesticides made a world of difference. Regularly checking the stability of netting ensures that my plants are well-supported, making the upkeep more manageable. With dedication and the right approach, your vertical garden can thrive beautifully.
FAQs on Using Nets
When it comes to vertical gardens, using nets often raises a number of questions. Below, we address some of the most common queries to help you make informed decisions.
Q: What are living walls?
A: Living walls are a type of vertical garden that can host various plant species, including tropical and succulent varieties. They often utilize nets or support structures to enhance plant arrangement and growth.
Q: Is garden netting necessary?
A: Yes, garden netting is crucial for maximizing plant yields. It trains plants for straighter growth, optimizes sunlight exposure, and prevents soil-borne contamination, resulting in healthier plants and cleaner harvests.
Q: Can I customize the design of my living wall?
A: Absolutely! Living walls are highly customizable to fit your space and style. Nets offer flexibility in plant arrangement and support, helping create a personalized garden design.
Q: Does anti-bird netting harm birds?
A: No, when properly installed, anti-bird netting poses minimal risk. It is designed to prevent entanglement, allowing birds to move freely and safely.
By understanding the benefits and addressing misconceptions, you can effectively use nets to enhance your vertical garden, leading to lush and thriving plant displays.
Conclusion and Final Tips
Creating a vertical garden using nets not only enhances plant support but also optimizes growth and maintenance. By choosing the right netting, preparing your space carefully, and positioning plants thoughtfully, you can transform any wall into a lush, living tapestry.
Don’t hesitate to start your own vertical garden adventure. It’s a rewarding way to bring greenery into urban spaces and improve air quality. Remember, “Gardening adds years to your life and life to your years.” So, grab your tools, select your favorite plants, and let the vertical garden journey begin!